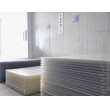
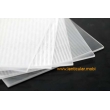
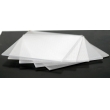
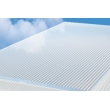
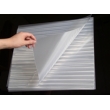
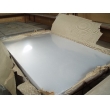
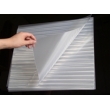
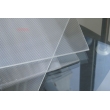
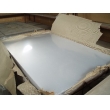
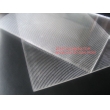
32LPI 3d lenticular software,42LPI 3d print,42LPI Lenticular array
Product Name:
32LPI 3d lenticular software,42LPI 3d print,42LPI Lenticular arrayModel No.:
YW3D-3030/Lenticular MobiPrice:
3d lenticular software providerMinimum Order:
40
Product Abstract:
32LPI 3d lenticular software,42LPI 3d print,42LPI Lenticular array-3d lenticular software-Lenticular.mobi-32LPI cheapest45992
- Product Description
32LPI 3d lenticular software,42LPI 3d print,42LPI Lenticular array11332
We make all lenticular,and we only make lenticular,we are professional in lenticular.LenticularMobi.148
32LPI 3d lenticular software,42LPI 3d print,42LPI Lenticular array
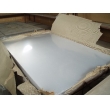
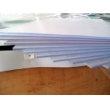
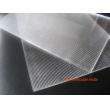
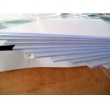
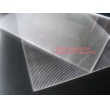
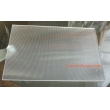
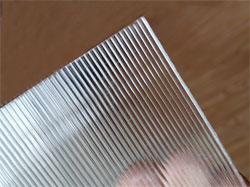
30LPI lenticular sheets for 3d lenticular printing. 30LPI 3mm 30LPI plastic lenticular lens sheet,best for strong 3d effects large format posters, Hot tags: lenticular sheet,Lenticular Exporters,Lenticular manufacturers,Lenticular factory,Lenticular Suppliers,Lenticular array,Lenticular Importers,3d lenticular,3d lenticular printing service,3d lenticular design,Lenticular.
LPI:30
Brand:YW3D
Pricelist:http://www.ppoo.com/lenticular-price.pdf
Printed By:inkjet/uv flatbed printer
Thickness:3mm
Standard Size:W1.2*H2.4m/Line length is 2.4m
Quality:High quality&Green&Safe
3D printing,10LPI lenticular sheet.PET Lenticular.3D stereo Lenticular,Clothing 3D printing,3d sheet,
Viewing Angel:42degree
Application:best for 3d effects large format lenticular products
Lenticular chip 3D printing,Tangshan Lenticular plate.3D printing design.News network 3D printing yesterday,Naked eye 3D printing,What is lenticular technology?,
Packing:wooden pallet,save packing
Stability:High stability/Uniform LPI number
Color:transparent
Effects:best for 3D
Weight:9.6KG/PCS
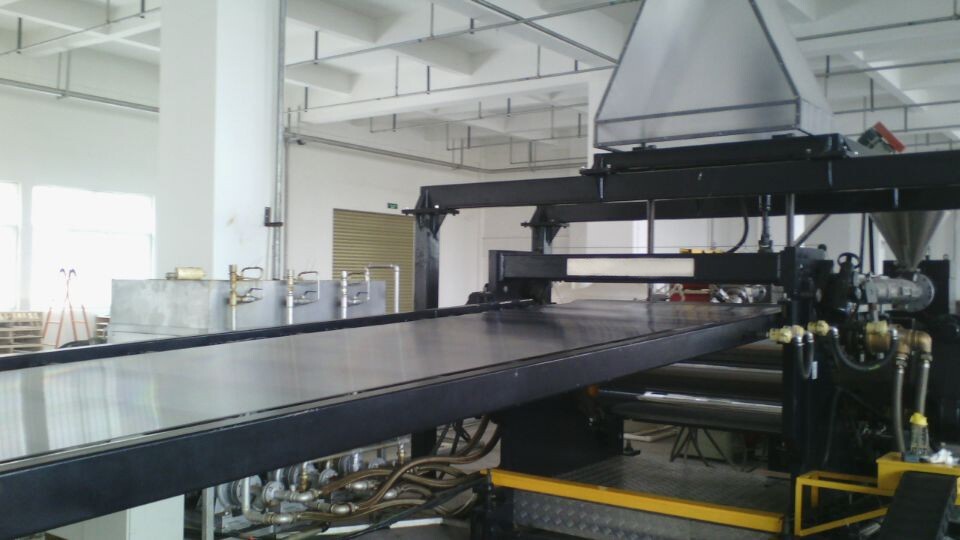
We can cut sheet based on requirements and customized.
Delievery time:1-5 days
10~60LPI For inkjet printer and uv flated printer,
70LPI~200LPI For offset printer. 5573Many kinds of lenticular material, how to choose?
You can consider belows:Thickness;Visual angle ;Which product do you want to make?Future size of your lenticular products;Where do you put?for example: hold in the hand, or hang on the wall;What effect do you want to design? 3D or flip or other effects?What is your observation distance ? 0.5m? Or 1m? Or others?What is your printing machine? offset printing press or inkjet printer or UV flatbed printer?Tag:30LPI lenticular sheet,lenticular lens,lenticular plate
32LPI 3d lenticular software,42LPI 3d print,42LPI Lenticular array
3d lenticular software Zhongshan,3d lenticular software Asia 3d lenticular software3d lenticular software
Material:PS plastic
32LPI 3d lenticular software,42LPI 3d print,42LPI Lenticular arrayLenticular Relevant:
Post-guide to graphic mounting
Photo mounting depends on the stability of the machine itself on one hand, but more importantly lies in the user's operating skills. In view of the general use of simple cold mounting machine, we introduce several methods of operation for your reference:
1.Wiping the grating plate with a clean cloth and cutting a double-sided adhesive tape (double-sided adhesive tape is larger than the grating sheet). Turning the pressure-regulating handle of the boxes on both sides of the machine, then separating the upper axle from the lower axle and placing the grating and double-sided adhesive into the two rollers in-between (the double-sided adhesive is put on the smooth side of lenticular lens sheet, if the two sides is transparent, then omit this step), rotating the pressure-handle to moving down the upper axle parallelly until the regulator handle is very tightly (Note: the pressure must be balanced, otherwise it easily leads to bubbles. The pressure should be medium, if too big or too small, problems will come).
2. After adjusting the pressure well, we turn cold mounting roller to make this side close to the operation a little spare space, then picking up the double-sided adhesive and folding down isolation paper or film, and film encases cold mounted roller and (focus) rotate it to make this part adhesive to the grating. Making the sticky side in front and pressing into the two rollers in -between of the cold mounted machine. Picking up the double-sided adhesive paper to tear away all of the remaining isolation paper. Adhesive film encase cold mounted roller (focus), turning rollers of cold mounting (try not to stop in the middle). Thus this side is mounted well, with the blade to cut the abundant part. The other side is mounted well like that.
3. Putting the picture on the table and cutting a small portion of the isolation film on the grating sheet (attention: not too much). Covering the paintings with grating sheet, closing one eye with one hand pulling thelenticular lens until the objects in the picture moving left and right as a whole, rather than up and down or sub-section . (if the picture need to be installed into the frame, just hit the black lines on the edge of the screen). Press tightly and do not let the lenticular lens move, put down that part of thelenticular lens without membrane and stick well (first stick to the middle, then drive to the sides from up - down). That sticky side is in front and press it into the two rollers in-between of the cold mounting machine . Pick up the grating and tear away all the remaining membrane, lenticular lens encases cold mounting roller (focus) turned cold mounting roller, thus a picture will be mounted well.Lenticular Sheets Technology Limited2017/2/20 13:16:38
32LPI 3d lenticular software,42LPI 3d print,42LPI Lenticular array
- Related Products
- [Return Home] [Print] [Go Back]
Products Search
Contact Us
Contact Person:
Ms.ElaineTel:
0086-13136538608Fax:
E-mail:
sales@ppoo.com-


